Help Center
Tools·4 min
3D to Render: bring your own model
Upload a 3D model from SketchUp, Revit or Blender, frame the camera, and render the view photorealistically.
3D to Render is the fastest path if you already have a model. You upload it, orbit to frame the shot exactly how you want it, then render that camera view. It is perfect for quick concept visuals without rebuilding the scene from scratch.
- 1Open Tools → 3D to Render and drop your .glb file (or the folder if it has separate texture files).
- 2Orbit, zoom and set the field of view and aspect ratio to frame the shot.
- 3Turn on the scale figure to judge the real-world size of your model.
- 4Choose a style and press Render this view.
Use a self-contained .glb (GLB binary). If your export is a .gltf with a separate .bin and texture files, drop them all together — Renderica will tell you exactly which files are missing.
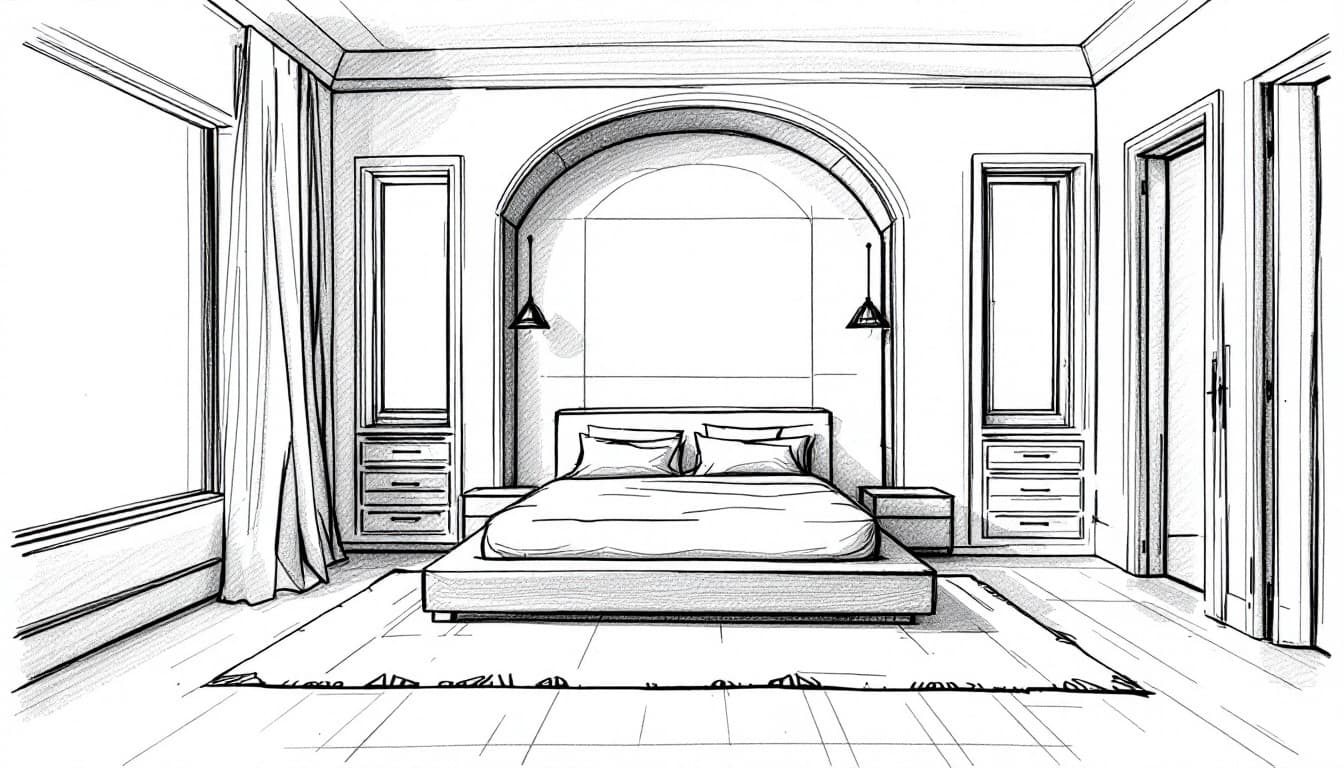
 After
After