Help Center
Getting started·3 min
Getting started with Renderica
Turn a floor plan, a photo, or a 3D model into a photorealistic render in three steps.
Renderica turns rough architectural inputs into photorealistic renders. You can start three ways: build a room in Studio, enhance an existing photo with Quick Tools, or upload your own 3D model with 3D to Render. Whichever you pick, the flow is the same: set up your scene, frame the shot, and render.
Your first render in 3 steps
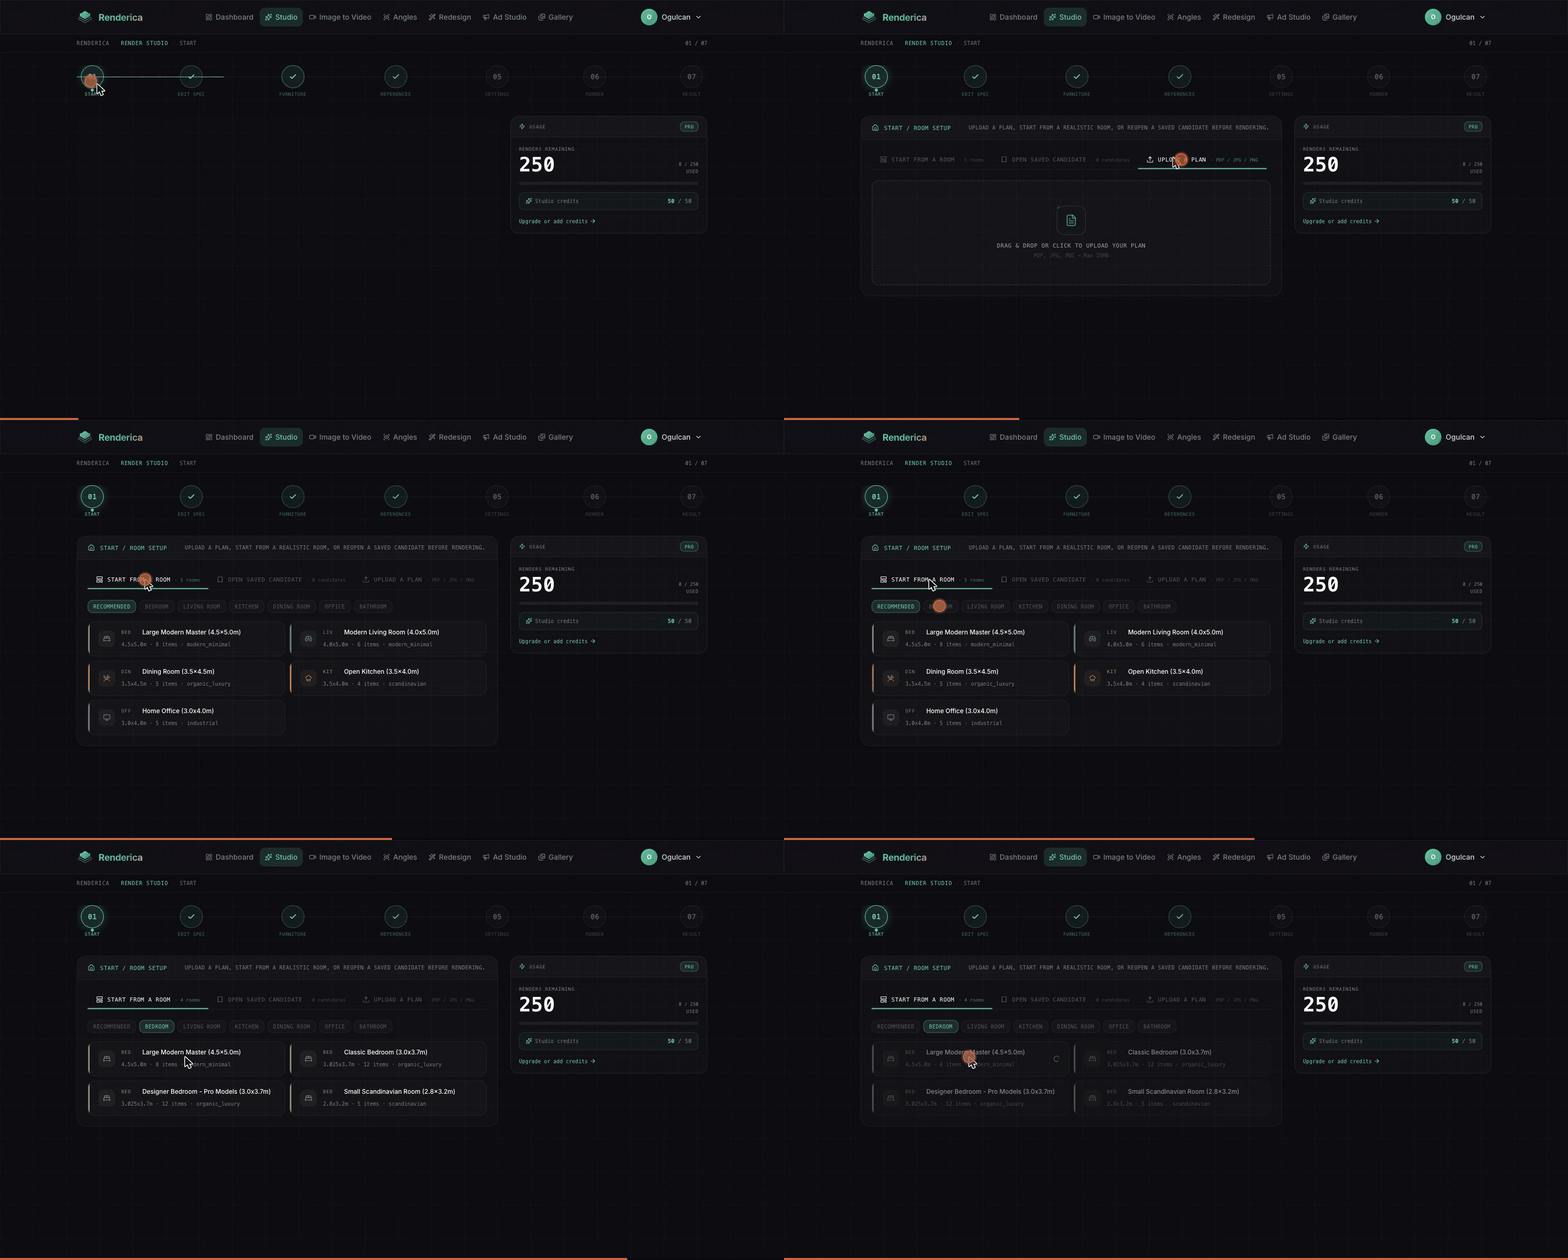
- 1Set up your scene — place your room or upload your model.
- 2Choose a style — pick the look and materials you want.
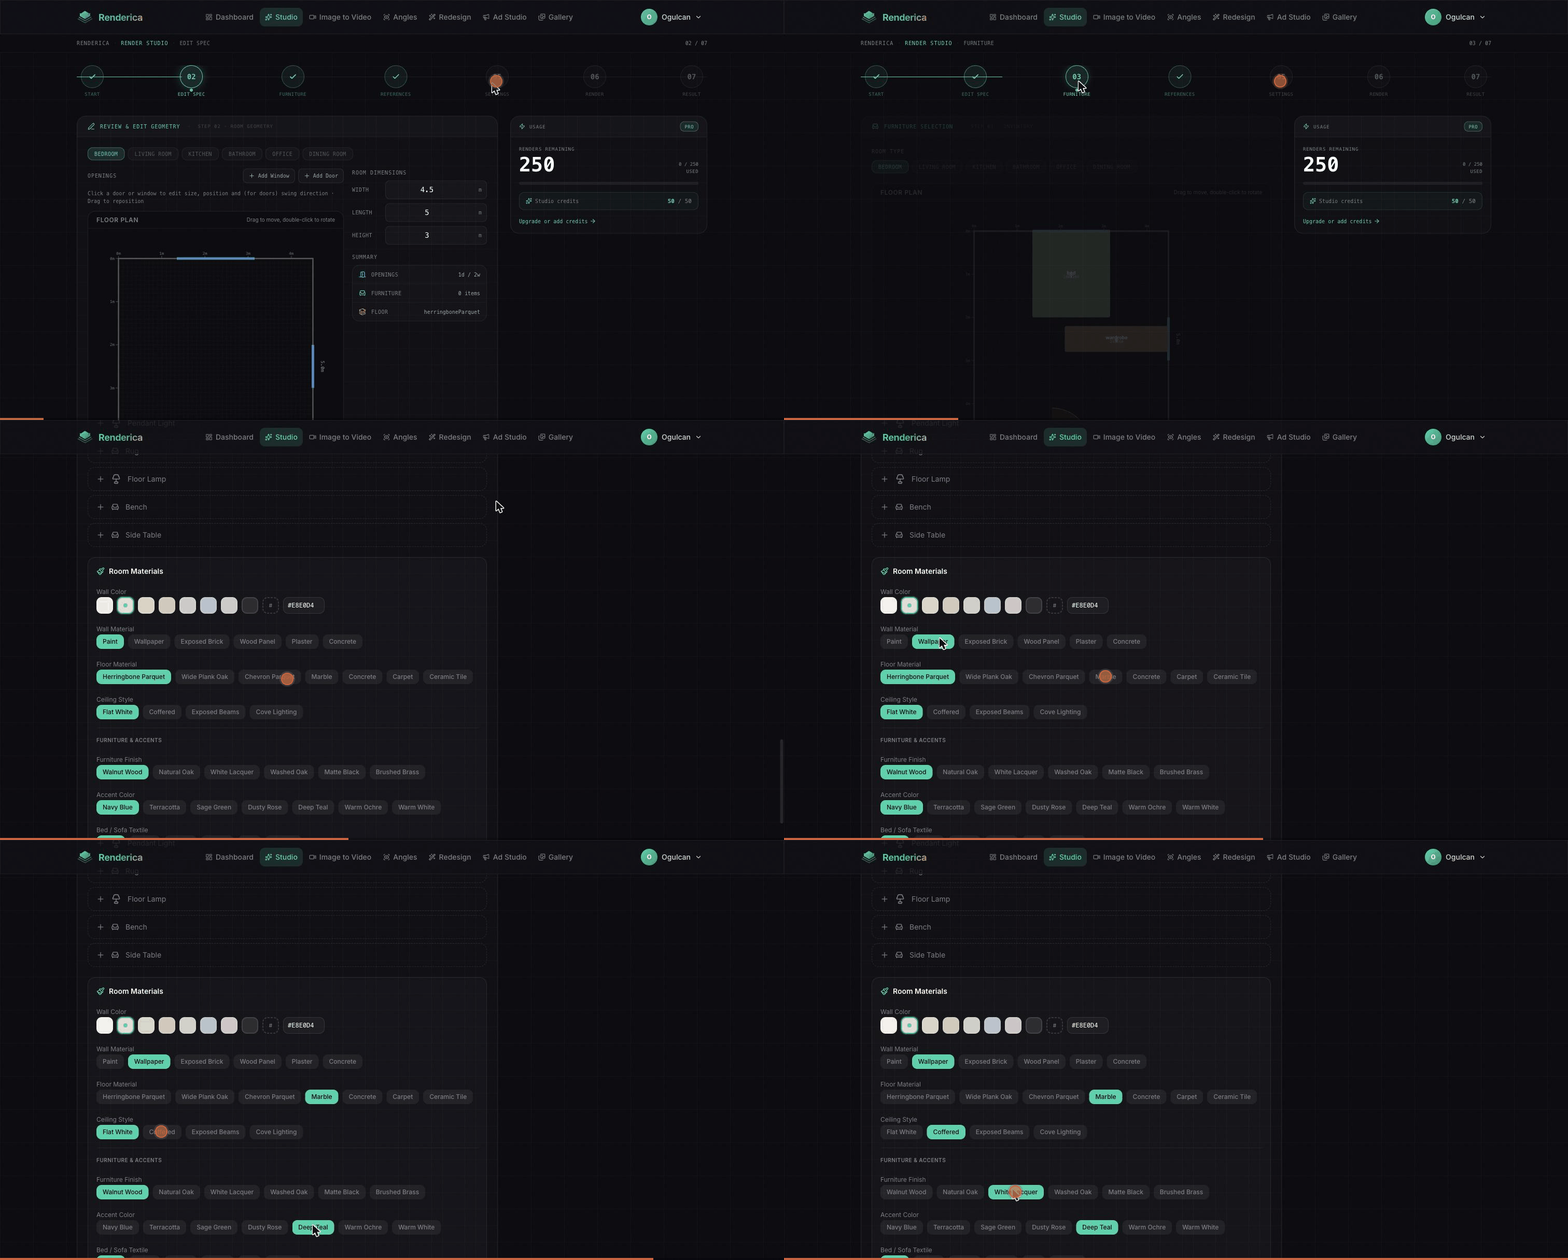
- 3Render — launch the render and download your finished image.
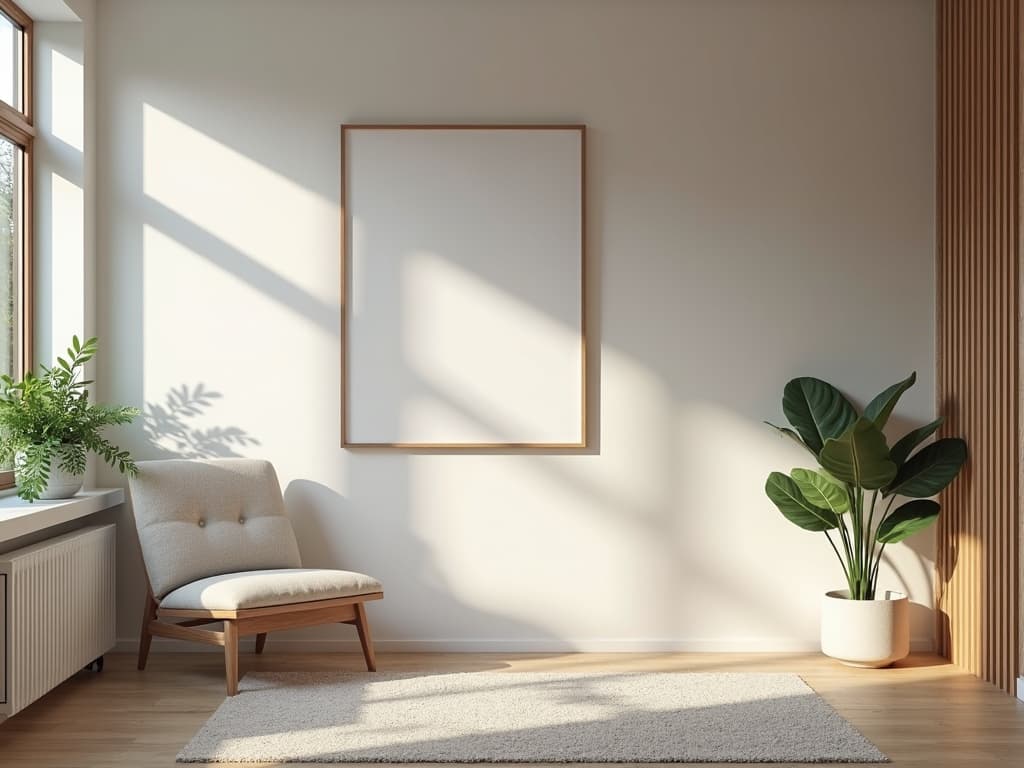
From sketch to photoreal
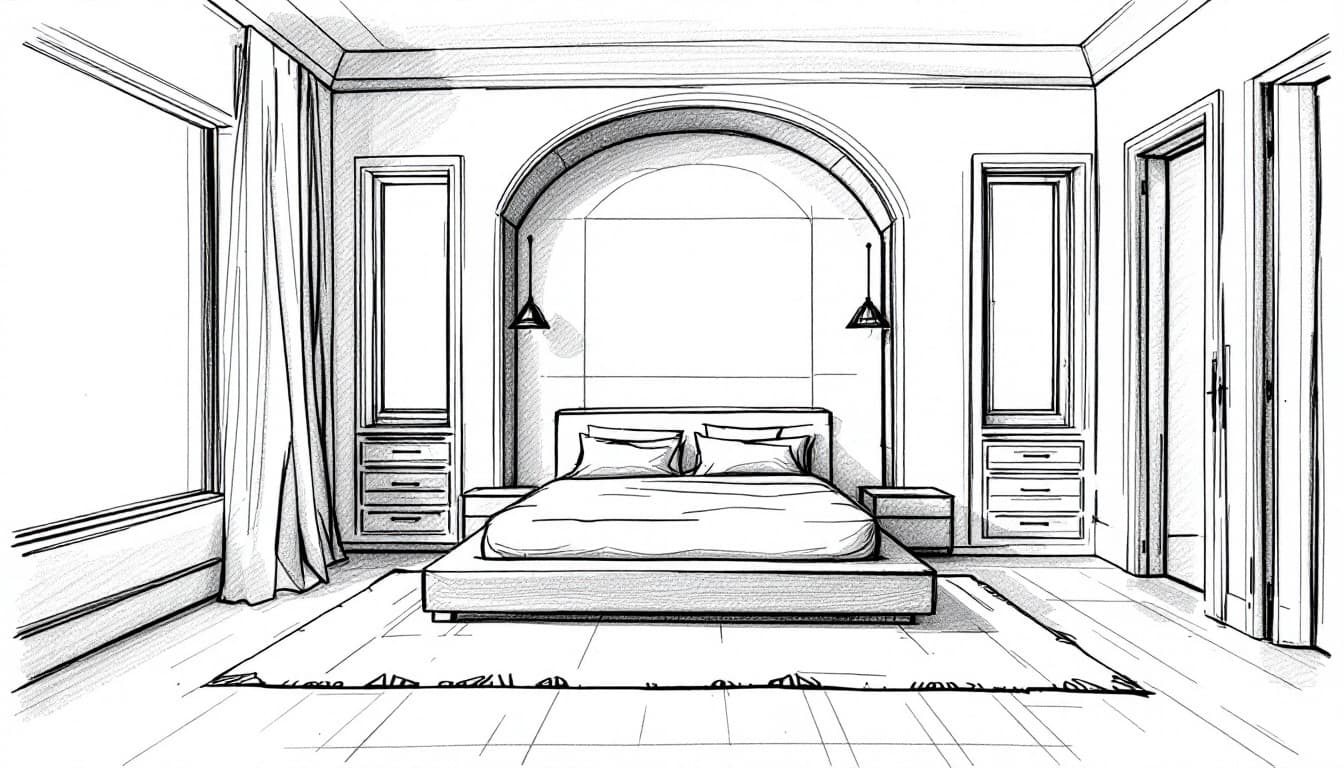
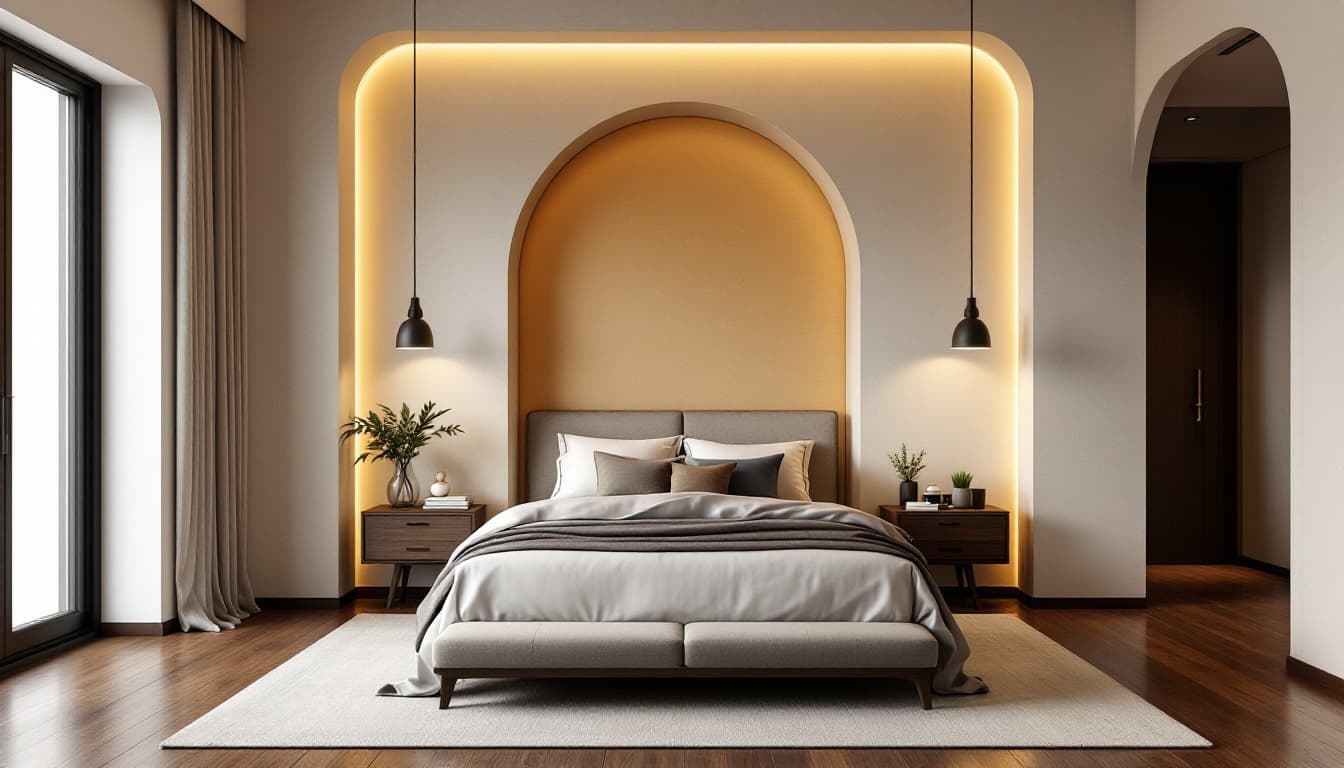 After
AfterTip: the cleaner your input (clear geometry, no clutter), the sharper and more faithful the render.